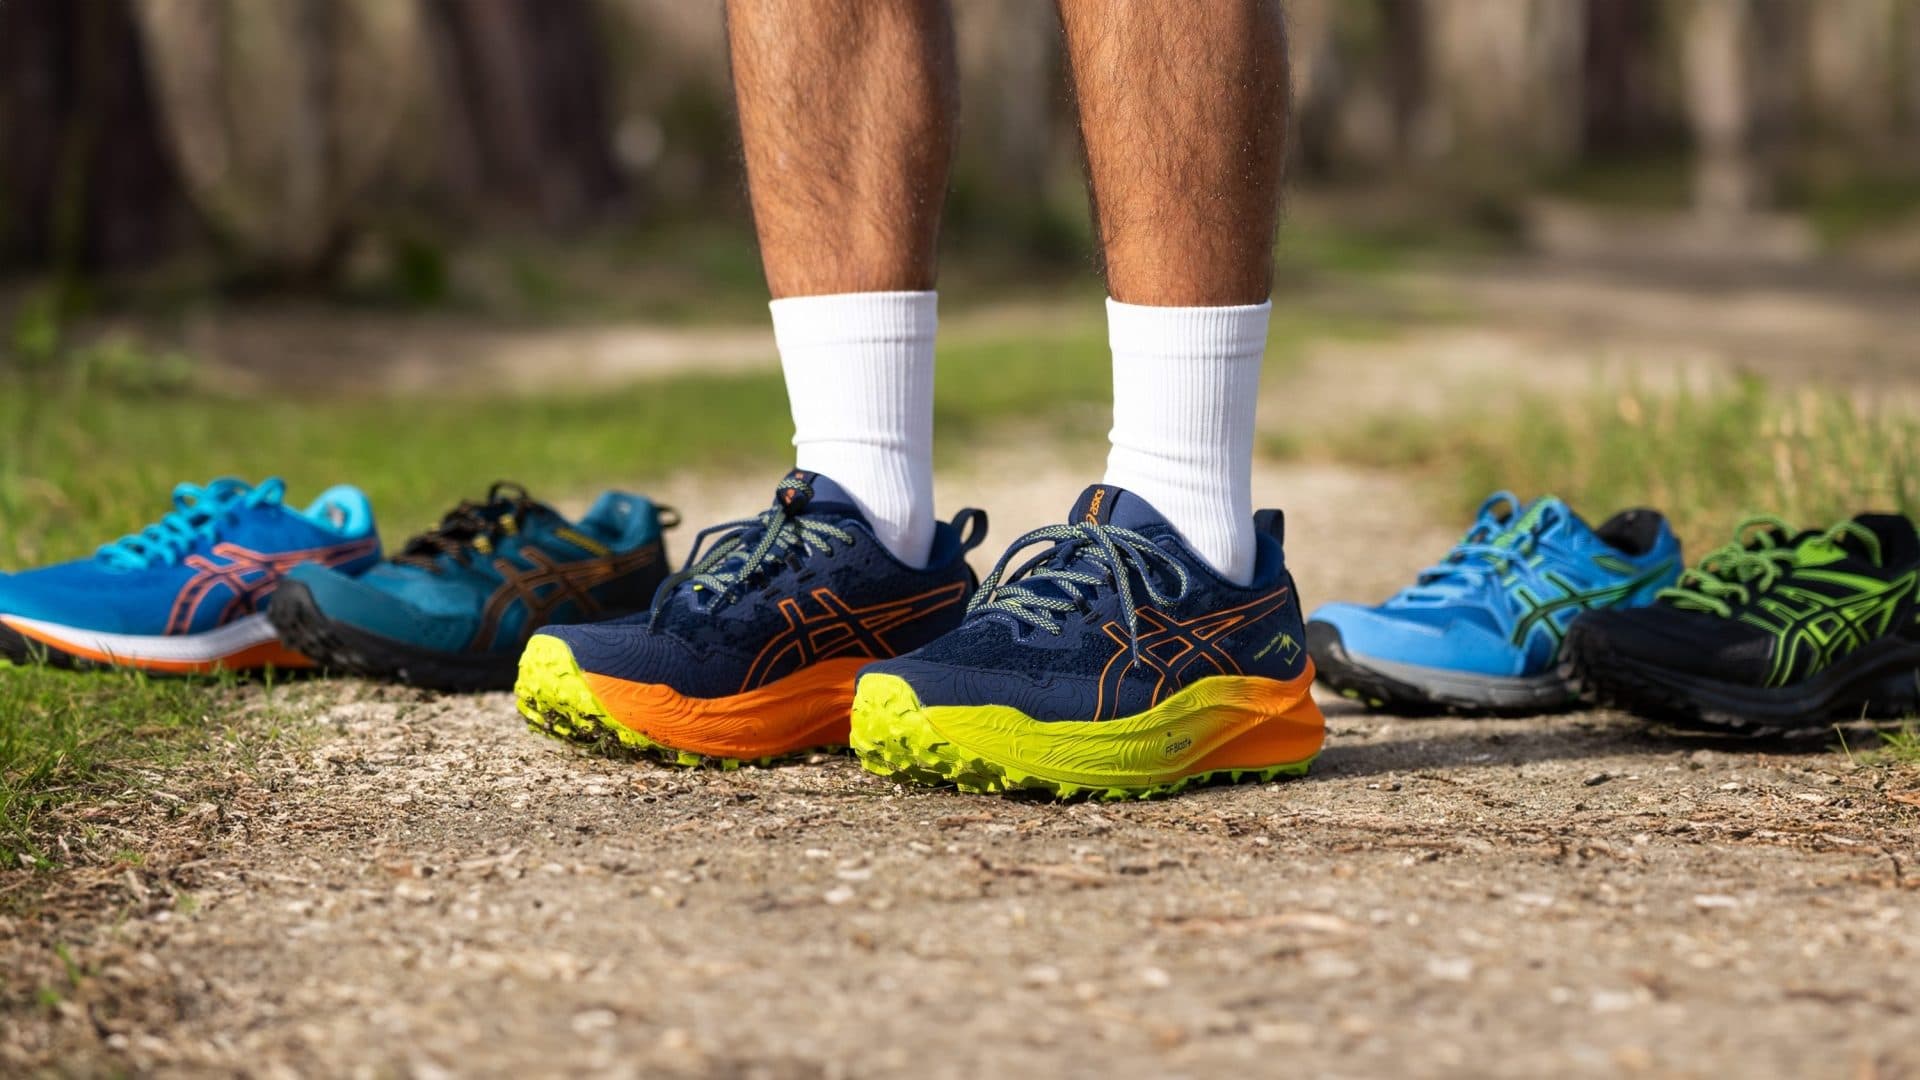
How to Test Trail Shoes Before Race Day – A Practical Guide for Marathon & Ultra‑Runners
You’ve just signed up for a 26‑mile trail marathon and your old shoes are chewing up your heels on every rock. The wrong pair can turn a strong finish into a painful “what‑if” that costs you time, comfort, and confidence. Unlike road trainers, trail shoes must survive loose soil, mud, steep climbs, and technical descents while delivering the speed and cushioning you need for long‑distance effort. The solution isn’t a gut feeling—it’s a systematic testing plan that validates grip, cushioning, fit, and durability before you line up at the start line.
In this guide we break down the exact steps to shake‑out, tune, and trust your trail shoes in the weeks leading up to race day. You’ll learn which performance metrics matter for marathon‑length and ultra‑length events, which training runs best reveal strengths and weaknesses, and how to interpret the data so you can pick the single shoe that will keep you comfortable, stable, and fast when the miles pile up.
Quick picks
- Light‑weight “day‑race” shoe – built for sub‑10‑minute‑per‑mile marathon effort on technical terrain.
- Cushioned long‑run shoe – high stack height and plush midsole for 30‑plus miles of rolling hills.
- Hybrid shoe for mixed terrain – balanced grip and road‑like feel for races that alternate between fire‑roads and single‑track.
- Stiff “climb‑assistant” shoe – reinforced midsole and aggressive lugs for steep, sustained ascents.
- Budget‑friendly starter shoe – reliable grip and protection without a premium price tag for runners new to trail racing.
What to look for
1. Outsole rubber & lug pattern
The outsole is the first line of defense against slipping. Choose a rubber compound that remains sticky in cool early‑season temps. The lug pattern should bite into soft soil and smooth out on packed hardpack. During testing, log the surface (dry soil, wet mud, hardpack) and note any slipping, vibration, or excessive chatter.
2. Midsole cushioning & stack height
Cushion is a trade‑off between comfort and ground feel. A 30 mm+ stack height (common in ultra shoes) absorbs long‑distance impact; a 20‑25 mm stack feels more responsive for marathon‑pace work. Track any “bottom‑out” sensation after 15–20 miles—if the shoe feels flat, you need more plushness or a different foam.
3. Heel‑to‑toe drop
Drop influences stride mechanics and calf load. Road shoes sit around 8‑10 mm; many trail models range from 4‑6 mm to encourage a mid‑foot strike. Test two drops on hill repeats: a lower drop can improve uphill efficiency, but watch for calf tightness that may demand a slightly higher drop for marathon‑length efforts.
4. Upper protection & breathability
A durable upper must guard against rocks, roots, and scrapes while allowing airflow. Look for reinforced toe caps, rock plates, and strategic mesh zones. During testing, scramble a boulder field or rope‑walk over a low wall and inspect the interior for abrasion or hot spots. If the upper feels too stiff, consider a shoe with a flexible knuckle‑area construction.
5. Weight & fit
Every gram matters on distance. Typical lightweight trail racers weigh ~250 g (laces included); ultra‑specific models creep toward 300 g. Fit should be snug in the heel, with a thumb‑width of clearance at the toe box after a long run when the foot swells.
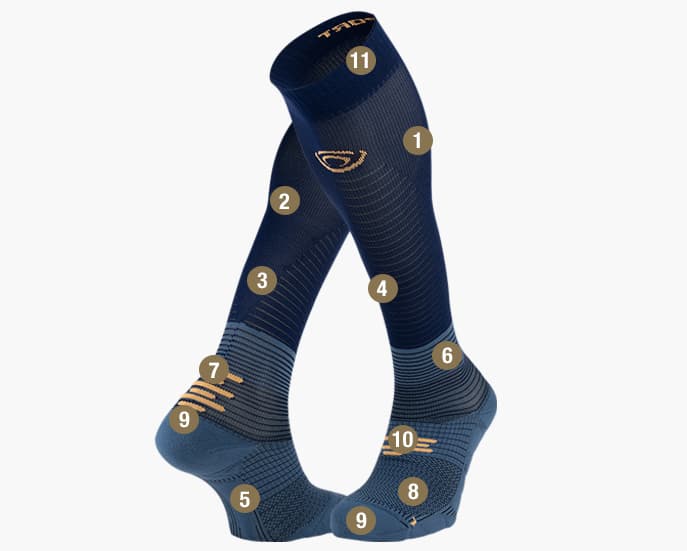
6. Break‑in period & sock compatibility
Some shoes need a modest break‑in to soften the upper and bedding of the midsole. Schedule at least two 8‑10‑mile runs in the new pair before the first race‑pace workout. Test with the exact socks you’ll wear on race day (technical, thin, moisture‑wicking) to catch friction‑induced hotspots early.
7. Stability features (rock plate, shank, cage)
Technical descents benefit from a rock plate or foot‑cage that protects against sharp objects and adds torsional stability. A stiff plate, however, can sap energy on long climbs. During downhill repeats, listen for a “squeaky” feel that signals poor energy return; a semi‑rigid frame often strikes the right balance.
Our picks
1. Light‑weight day‑race shoe – for speed‑focused marathon trails
Ideal for sub‑10‑minute‑per‑mile marathon attempts on technical courses. Look for a low‑to‑mid stack height, minimal rock plate, and a sticky rubber compound. Expect reduced heel protection; stay alert on the scrappiest sections.
Shop this type: Check price on Amazon →
2. Cushioned long‑run shoe – for ultra‑marathon distance and hill‑heavy loops
When you’re logging 30+ mileage weeks, extra foam prevents fatigue. Target a 30 mm+ stack, moderate rock plate, and a roomy toe box for swelling. The trade‑off is slightly slower response on short, steep climbs, but you gain joint protection on long descents.
Shop this type: Check price on Amazon →
3. Hybrid shoe for mixed terrain – the best of both worlds
Many marathon‑length trail events start on paved service roads before dropping into single‑track. Choose a shoe with a smoother rubber for road sections and aggressive side lugs for rock. Aim for a 25‑30 mm stack, flexible rock plate, and a “dual‑zone” tread that transitions from flat road to aggressive side lugs.
Shop this type: Check price on Amazon →
4. Stiff climb‑assistant shoe – for steep elevation gain
Races with 4,000+ ft of ascent benefit from a reinforced midsole or shank that improves efficiency. Look for a low‑drop platform and a supportive (not overly protective) rock plate. Expect reduced feel on technical descents; you may swap to a lighter shoe for the downhill portion.
Shop this type: Check price on Amazon →
5. Budget‑friendly starter shoe – for newcomers to trail racing
First‑time marathon trail runners don’t need a $200‑plus performance shoe right away. A budget option with a durable outsole, basic rock plate, and adequate cushioning can carry you through a training cycle without breaking the bank. Expect a slightly heavier feel and a less refined fit, but the protection and grip suffice for moderate technical courses.
Shop this type: Check price on Amazon →
How to choose
Step 1: Map the race terrain
Break the course into three variables: technical single‑track %, elevation gain, and surface type (road vs. trail). If technical single‑track exceeds 70 % and elevation gain is high, prioritize a cushioned long‑run or climb‑assistant shoe. For flatter, faster loops, a light‑weight day‑race shoe keeps cadence high.
Step 2: Match shoe specs to your running style
- Heavy heel‑strikers benefit from a higher stack and softer foam.
- Mid‑foot/forefoot strikers often prefer lower drop and firmer midsole for propulsion.
- Wide feet need a roomy toe box; narrow feet benefit from a snug heel capsule.
Step 3: Conduct a fit & sock test
Lace the shoe with the exact race‑day socks, stand on a hard surface, and perform a short hop. The heel should stay seated, and you should be able to wiggle the toes. Any pressure points indicate a need for a different size or model.
Step 4: Plan the break‑in window
- <3 weeks to race: Choose a shoe that feels comfortable off the shelf (many 2024 models are pre‑broken‑in).
- ≥4 weeks to race: You can afford a model that needs two 8‑10‑mile runs to soften the upper and settle the midsole.
Step 5: Log test data
Create a simple spreadsheet with columns for run distance, surface, perceived cushioning, grip rating (1‑5), calf fatigue, and notes. After each test run, fill in the row. Patterns will emerge—e.g., a shoe that loses grip on wet mud or causes calf tightness on 10 % grade repeats.
Step 6: Narrow to one final pick
Cross‑reference terrain, foot‑strike, fit, and break‑in data. The shoe that consistently scores high on grip, maintains cushioning after 20 + miles, and feels comfortable in the socks is the one to bring to the start line.
FAQ
What’s the minimum mileage I should put on new trail shoes before race day?
Aim for at least 15–20 miles of varied terrain—including a long run of 10 + miles—to let the upper flex and the midsole settle.
Should I test shoes on hills or flats first?
Start with flat runs to assess comfort and fit, then progress to hill repeats and off‑road loops to evaluate stability, grip, and drop‑related calf strain.
How important is the rock plate for marathon‑length races?
A rock plate protects against sharp objects on technical sections, but a full‑coverage plate can feel stiff on long climbs. For mostly rolling terrain, a semi‑rigid plate offers a balanced mix of protection and flexibility.
Can I use the same trail shoes for both training and racing?
Yes, if the shoe meets the race’s technical demands. Many runners keep a lightweight “race‑day” pair and a more cushioned “training” pair to extend the life of both.
Do I need to break in the shoes with the same socks I’ll wear on race day?
Absolutely. Sock material affects friction and swelling; testing with race‑day socks helps catch hotspots before they turn into blisters.
Bottom line
Testing trail shoes before a marathon or ultra is a systematic process: match shoe type to terrain, run a progression of mileage and surfaces, and evaluate grip, cushioning, drop, and fit under race‑day conditions. By following the steps above and selecting the right category—lightweight day‑race, cushioned ultra, hybrid mixed‑terrain, stiff climb‑assistant, or budget starter—you’ll line up at the start line confident that your feet are supported, protected, and ready to perform. Happy trails, and may your next race be blister‑free!

%3Amax_bytes(150000)%3Astrip_icc()%2Fshp-half-marathon-gear-sep-24-test-new-balance-womens-fuelcell-supercomp-elite-v4-jthompson-2057-8feab28f35ed42a7bbcfd364aae4bbd4.jpeg&w=3840&q=75)